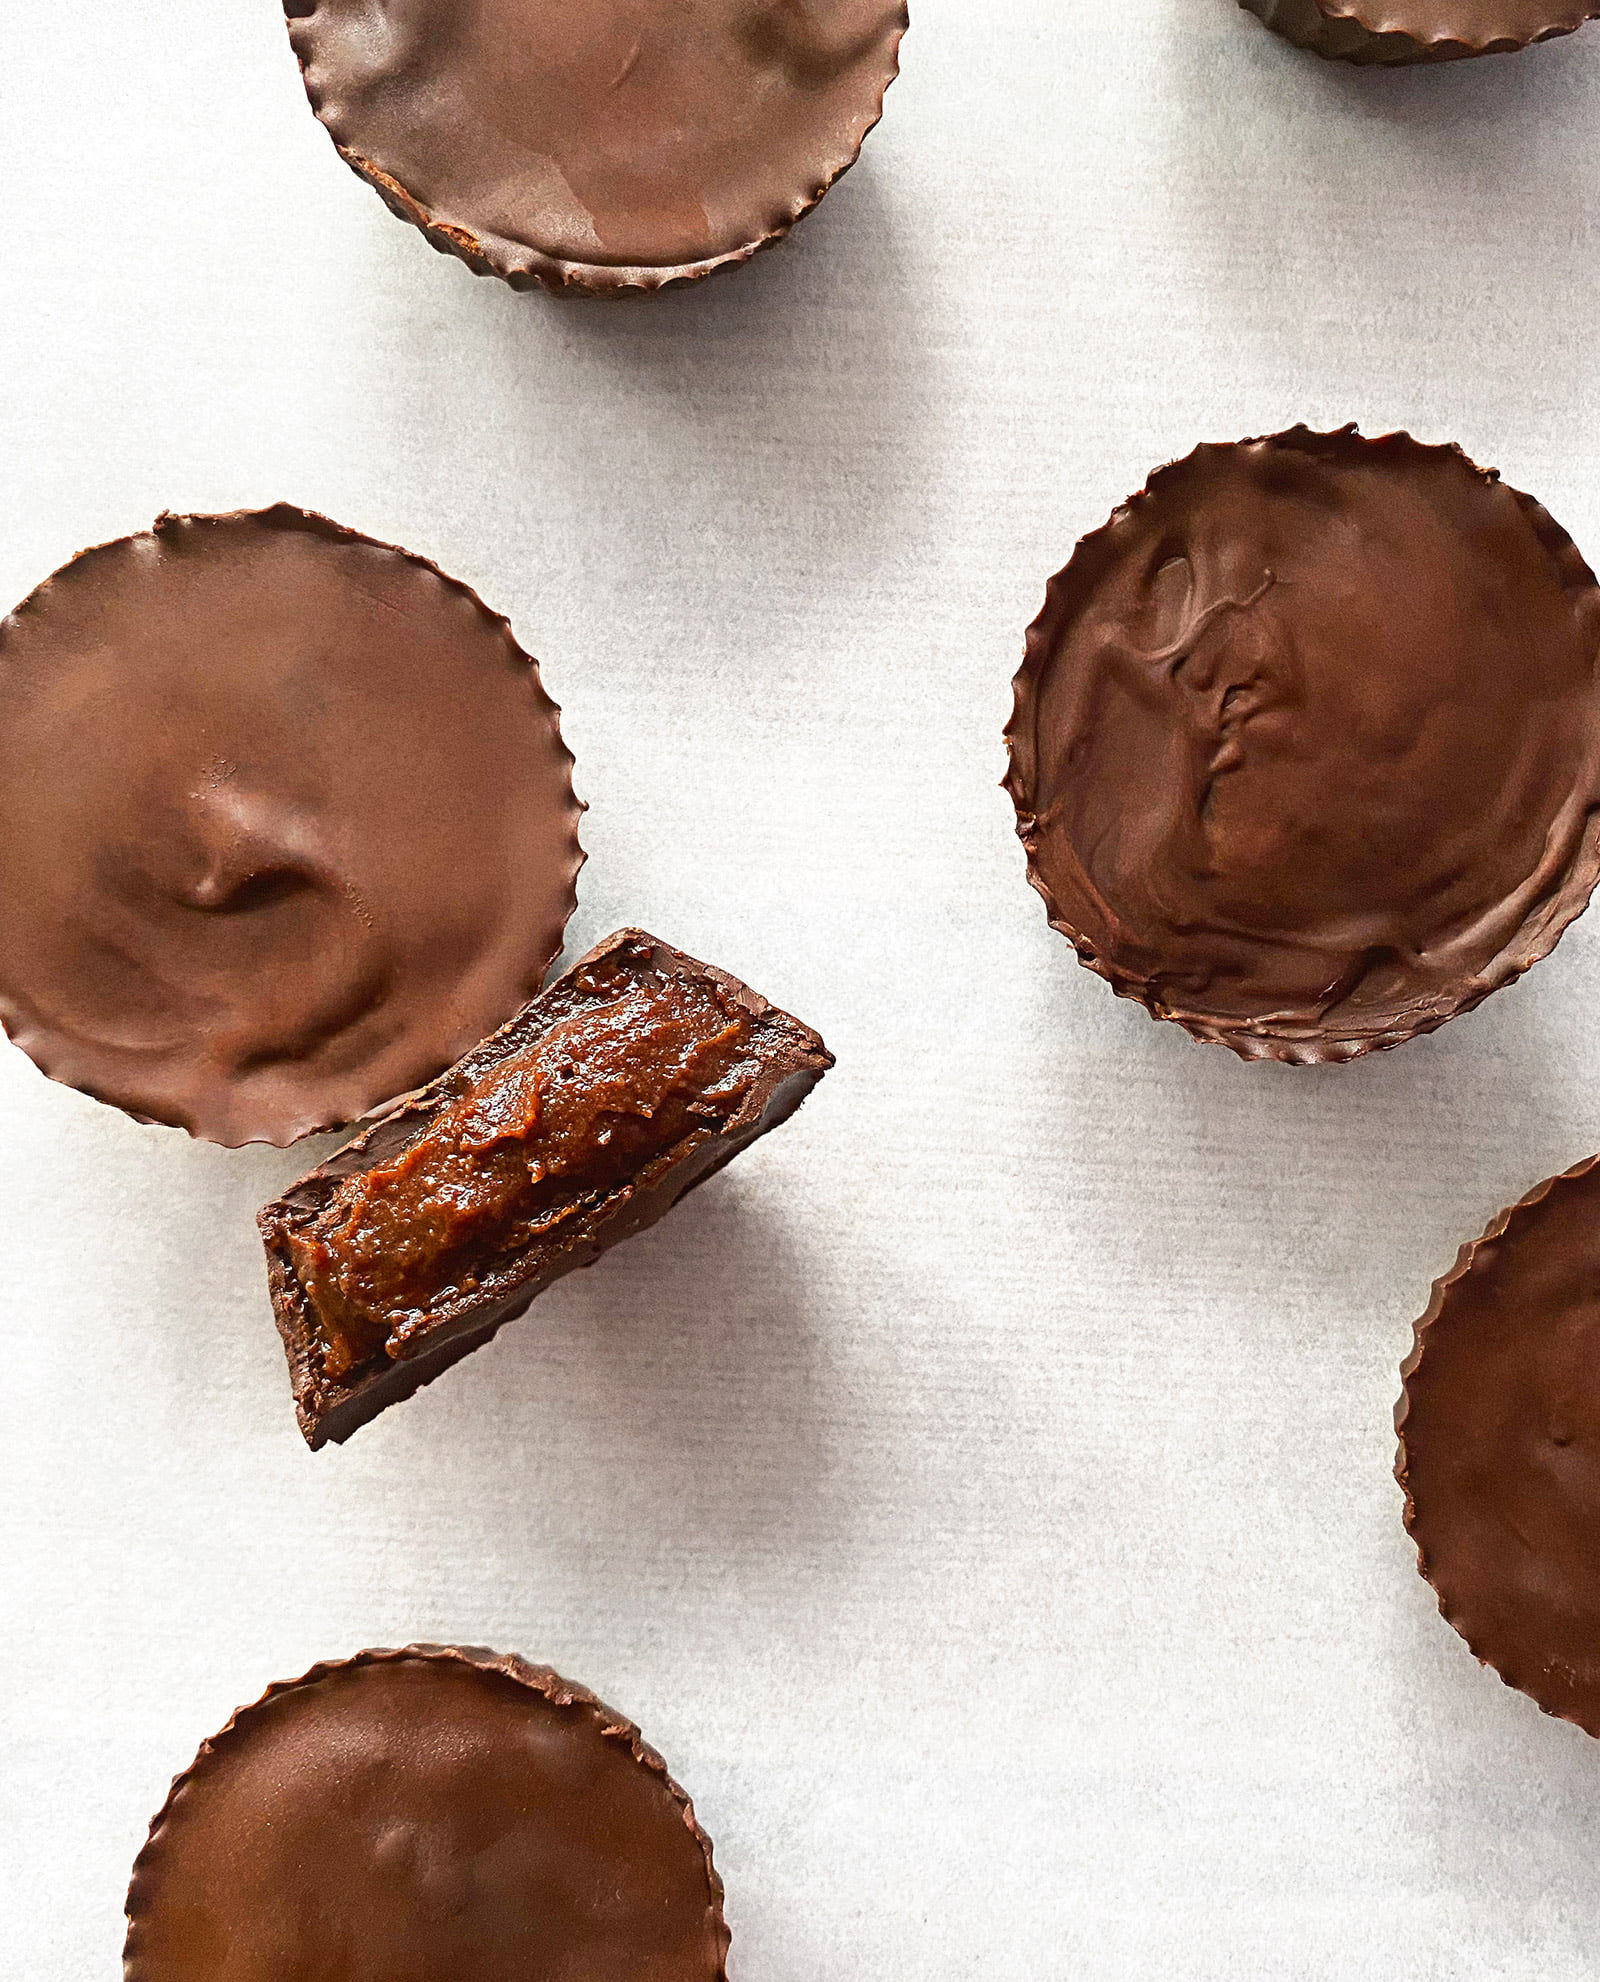
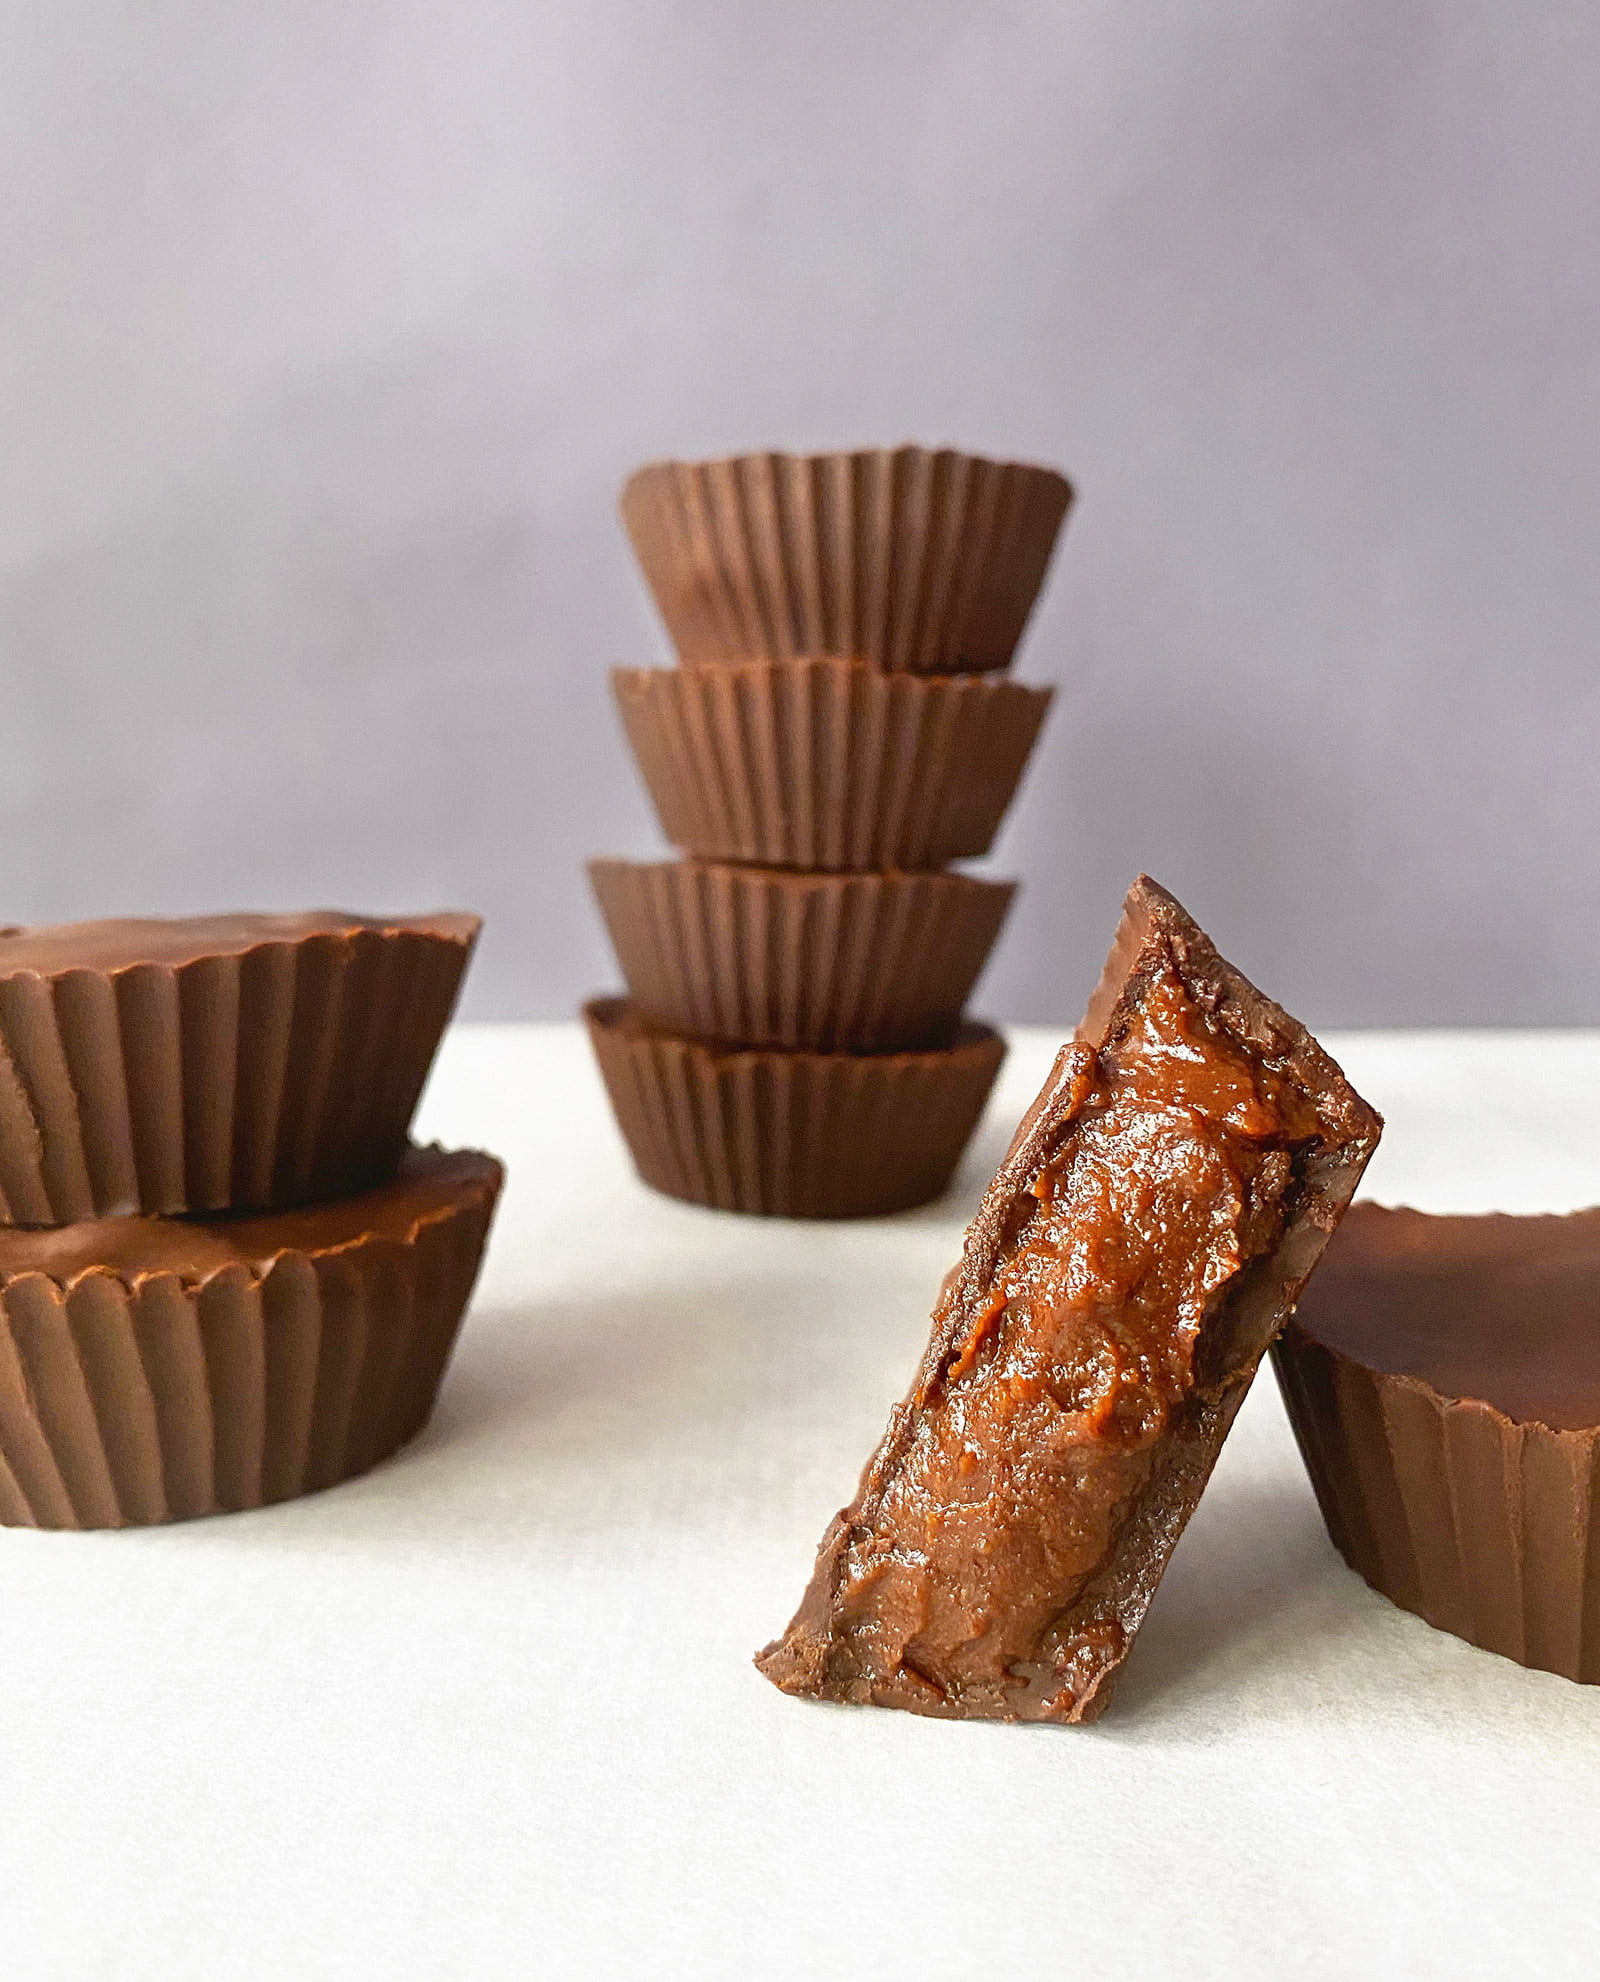
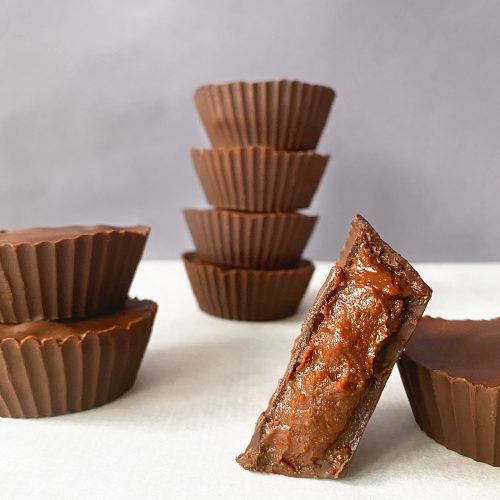
Ok, so these are heavenly. Seriously. Can you beat chocolate + coffee? It does not get any yummier than these sweet, luscious, chocolatey mocha cups.
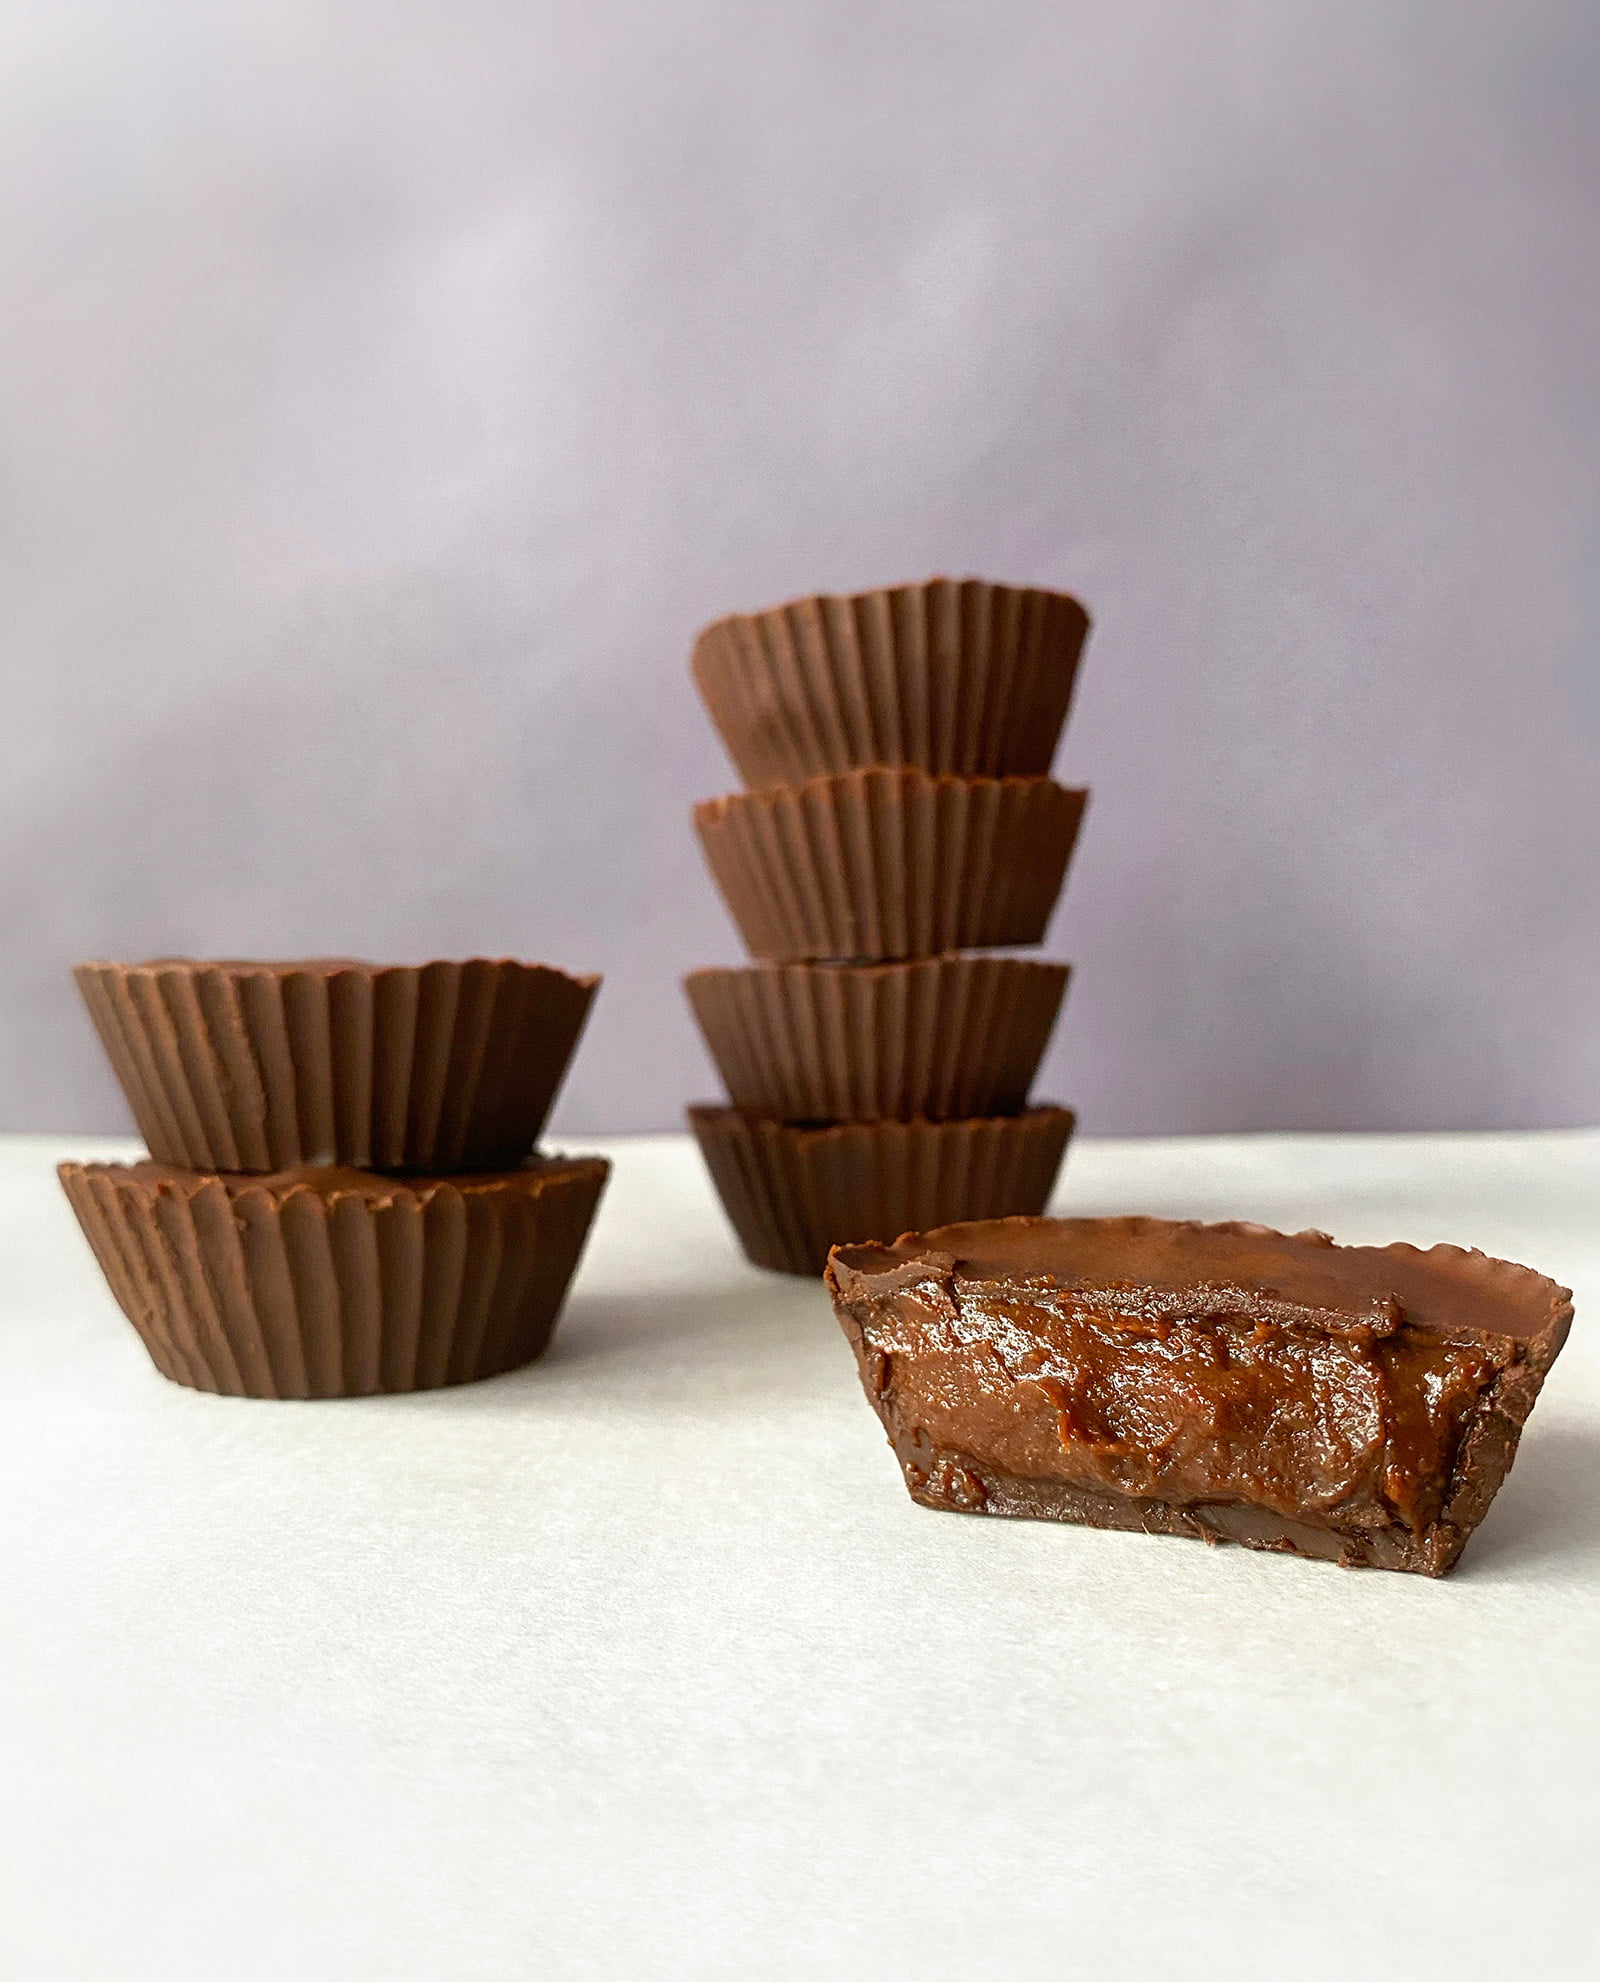
Think delicious dark chocolate on the outside and a soft and thick caramel-like inside that tastes like mocha; but better. Dates, almond butter, cacao and a shot of espresso are blended until a smooth, creamy, dreamy paste forms. And it tastes AMAZING. Like “I want to lick the blender” kind of amazing (and maybe I did, don’t judge me until you try this crazy good cream).
And it gets better, these little gems are high in fiber and packed with great nutrients and good fats. They are 100% plant-based, paleo and gluten-free. And can also be oil-free and sugar-free depending on the chocolate you use; you can pick stevia or coconut sugar-sweetened chocolate. But try to buy high-quality chocolate, it will make these taste 100 times better.
Feel like giving this healthy treat a try? I must warn you; it’s really hard eating just one. So double the recipe and enjoy this incredibly delicious dessert or snack!
If you try these beautiful mocha cups, let us know what you think. Tag us on Instagram @mondaydreamsblog or leave a comment below, we love hearing from you. We really do!
Mocha Cups
Ingredients
CHOCOLATE COATING
- 4.5 oz or 120 grams of your favorite chocolate - I used 70%
- 1 tsp coconut oil, optional*
MOCHA FILLING
- ½ cup dates - about 80 - 85 grams or 3 oz
- 1 shot espresso, at room temperature - about ¼ cup
- 2 Tbsp almond butter
- 1 Tbsp cacao powder
- 1 tsp pure vanilla extract
- Pinch of sea salt
Instructions
- Place chocolate and coconut oil, if using, in the microwave for 30 seconds on medium power. Stir and repeat until 70 – 80 % of the chocolate is melted, the rest will melt as you stir. Be careful not to overheat the chocolate, it will ruin the taste and texture.
- Spoon a little over a tsp of melted chocolate into each cupcake liner. Gently tilt and spin the cups to coat the sides. Don’t go all the way up, just coat about ¾ of the liner height.
- Refrigerate the cups for 10 minutes.
- In the meantime, add filling ingredients to a high-speed blender and blend until a smooth cream forms. You might need to stop a few times to scrape down the sides. Be patient, it will be worth it.
- (This next part is optional, you can totally skip it, but I like thicker sides) Remove the cupcake liners from the fridge and try to coat the sides with a second layer of melted chocolate. Tilt and add ½ - 1 tsp of chocolate to the sides and spin. Using a small spoon might help you spread the chocolate as it will harden quickly because the liners are cold. Refrigerate for another 5 minutes.
- Remove the cupcake liners from the fridge and spoon the filling into the chocolate cups. Use the back of a spoon to flatten it.
- Spoon the rest of the chocolate on top of each cup. Make sure it spreads evenly.
- Refrigerate for about an hour.
- Enjoy these magical cups!
- Store leftovers in the fridge for up to 10 days.